Do you ever wonder how you can take better care of your skin without breaking the bank on high-end products? It’s a delightful thought, imagining that you can make face masks at home tailored specifically to your skin type. Not only is it cost-effective, but it’s also rather satisfying to create something yourself, isn’t it? So, let’s embark on this journey of DIY face masks.
Understanding Your Skin Type
Before diving into those wonderful recipes, it’s crucial to understand your skin type. Each skin type has unique needs, and using the wrong ingredients can sometimes do more harm than good. Generally, skin types are categorized into five main types: oily, dry, combination, sensitive, and normal. Knowing your skin type will help you choose the right ingredients for your DIY face mask.
Identifying Oily Skin
Oily skin tends to have enlarged pores and a shiny complexion. The sebaceous glands in your skin produce excess sebum, which often leads to acne and blackheads. People with oily skin often feel the need to blot their face throughout the day because of the relentless shine.
Recognizing Dry Skin
Dry skin feels tight and may have flakiness or rough patches. It lacks moisture and may look dull. Those with dry skin often experience discomfort and a higher sensitivity to environmental factors, such as wind and cold weather.
Understanding Combination Skin
Combination skin involves having oily areas, typically the T-zone (forehead, nose, and chin), while other parts of the face, like the cheeks, can be dry or normal. This skin type can be a bit tricky to treat because it requires balancing moisture without exacerbating oily areas.
Sensitive Skin
Sensitive skin is prone to inflammation and can react to certain ingredients, causing redness, itching, or burning sensations. It’s crucial for those with sensitive skin to use gentle and soothing ingredients.
Normal Skin
If you have normal skin, your skin balance is just right. It’s not too oily, not too dry, and usually has a smooth texture with few imperfections. Even though it’s the easiest to manage, maintaining that balance is essential.
DIY Face Masks for Oily Skin
People with oily skin need masks that help control excess oil while keeping the skin hydrated. Ingredients like clay, lemon, and honey are great for this skin type.
Clay and Lemon Juice Mask
Clay masks are fantastic for absorbing excess oil and pulling out impurities. Lemon juice contains Vitamin C, which not only helps brighten the skin but also controls oil production.
Ingredients:
- 1 tablespoon clay (bentonite or kaolin)
- 2 teaspoons lemon juice
- 1 tablespoon honey
Instructions:
- Mix the clay, lemon juice, and honey until you get a smooth paste.
- Apply the mask evenly on your face, avoiding the eyes.
- Leave it on for 15-20 minutes.
- Rinse off with lukewarm water and pat dry.
Yogurt and Honey Mask
Yogurt contains probiotics that help regulate the skin’s bacterial balance, reducing acne outbreaks, while honey is a natural antiseptic and moisturizer.
Ingredients:
- 2 tablespoons plain yogurt
- 1 tablespoon honey
Instructions:
- Mix the yogurt and honey together.
- Apply the mixture to your face.
- Leave it on for 15 minutes.
- Rinse with lukewarm water and gently pat your skin dry.
Egg White and Lemon Mask
Egg whites tighten the pores and control sebum production, while lemon helps brighten the skin and remove excess oil.
Ingredients:
- 1 egg white
- 1 teaspoon lemon juice
Instructions:
- Whisk the egg white and lemon juice until frothy.
- Apply to your face, avoiding the eye area.
- Leave it on for 10-15 minutes or until it feels tight.
- Rinse off with cool water.
DIY Face Masks for Dry Skin
Dry skin requires intense hydration and nourishment. Ingredients like avocado, banana, and olive oil work wonders in moisturizing and rejuvenating dry skin.
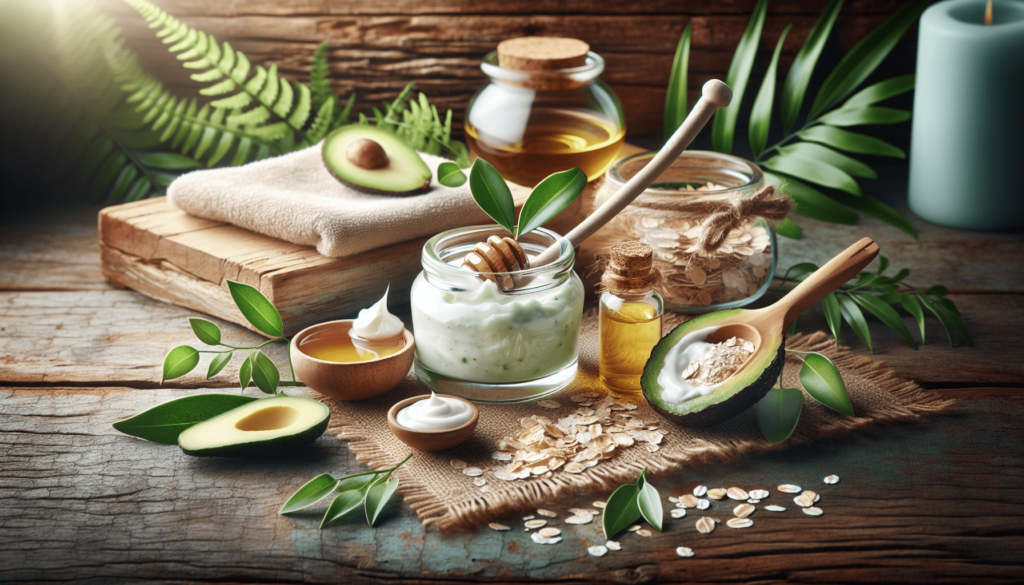
Avocado and Honey Mask
Avocado is rich in healthy fats and vitamins that nourish the skin deeply. The honey adds an extra moisturizing touch.
Ingredients:
- 1 ripe avocado
- 1 tablespoon honey
Instructions:
- Mash the avocado until it’s smooth.
- Mix in the honey.
- Apply the mixture on your face.
- Leave it on for 20 minutes.
- Rinse off with lukewarm water and pat dry.
Banana and Olive Oil Mask
Bananas are full of vitamins and minerals that help retain moisture, while olive oil is deeply hydrating and soothing.
Ingredients:
- 1 ripe banana
- 1 tablespoon olive oil
Instructions:
- Mash the banana until smooth.
- Mix in the olive oil to form a paste.
- Apply to your face.
- Let it sit for 20 minutes.
- Rinse off with lukewarm water and gently dry your face.
Oatmeal and Honey Mask
Oatmeal is a natural exfoliant that cleanses the skin gently, and combined with honey, it provides both moisture and protection.
Ingredients:
- 2 tablespoons oatmeal
- 1 tablespoon honey
- 2-3 tablespoons milk
Instructions:
- Mix the oatmeal, honey, and milk to form a paste.
- Apply to the face.
- Leave it on for 15-20 minutes.
- Rinse with lukewarm water, massaging your skin as you do so.
DIY Face Masks for Combination Skin
Balancing the needs of oily and dry areas can be challenging. Masks that incorporate ingredients with both hydrating and oil-controlling properties are beneficial.
Cucumber and Aloe Vera Mask
Cucumber refreshes and hydrates the dry areas, while aloe vera soothes and controls oil production.
Ingredients:
- 1/2 cucumber, peeled and blended
- 2 tablespoons aloe vera gel
Instructions:
- Blend the cucumber until smooth.
- Mix in the aloe vera gel.
- Apply the mask evenly on your face.
- Leave it on for 20 minutes.
- Rinse with cool water and pat dry.
Green Tea and Honey Mask
Green tea is rich in antioxidants that help balance the skin’s oil production, and honey provides the necessary hydration.
Ingredients:
- 1 green tea bag or 1 tablespoon loose green tea
- 1 tablespoon honey
Instructions:
- Brew the green tea and let it cool.
- Mix the tea with honey to form a paste.
- Apply to your face.
- Leave it on for 15 minutes.
- Rinse off with lukewarm water.
Turmeric and Yogurt Mask
Turmeric has anti-inflammatory properties, and combined with yogurt, it helps regulate the skin’s moisture and oil levels without causing imbalance.
Ingredients:
- 1 tablespoon yogurt
- 1/2 teaspoon turmeric powder
Instructions:
- Mix the yogurt and turmeric powder until well combined.
- Apply the mixture to your face.
- Leave it on for 15-20 minutes.
- Rinse off with lukewarm water and gently pat your face dry.
DIY Face Masks for Sensitive Skin
Sensitive skin needs utmost care with gentle, soothing ingredients that do not cause irritation. Simple, natural ingredients are your best bet.
Oatmeal and Rosewater Mask
Oatmeal gently exfoliates and soothes irritated skin, and rosewater calms and hydrates.
Ingredients:
- 2 tablespoons oatmeal
- 2-3 tablespoons rosewater
Instructions:
- Grind the oatmeal into a fine powder.
- Mix the oatmeal powder with rosewater to form a paste.
- Apply gently to your face.
- Leave it on for 15-20 minutes.
- Rinse cautiously with cool water.
Chamomile and Honey Mask
Chamomile is known for its calming properties, making it perfect for sensitive skin. Combined with honey, it provides both comfort and hydration.
Ingredients:
- 1 chamomile tea bag or 1 tablespoon dried chamomile flowers
- 1 tablespoon honey
Instructions:
- Brew the chamomile tea and let it cool.
- Mix the tea (or powdered flowers) with honey to form a paste.
- Apply to your face gently.
- Leave it on for 15 minutes.
- Rinse with lukewarm water, patting dry.
Aloe Vera and Cucumber Mask
Both aloe vera and cucumber are incredibly soothing and hydrating, making them ideal for sensitive skin.
Ingredients:
- 2 tablespoons aloe vera gel
- 1/4 cucumber, pureed
Instructions:
- Blend the cucumber until smooth.
- Mix with aloe vera gel.
- Apply evenly on your face.
- Leave it on for 20 minutes.
- Rinse gently with cool water.
DIY Face Masks for Normal Skin
While normal skin is the easiest to manage, it still needs regular care to maintain its balance. Using nourishing and moisturizing ingredients ensures that your skin stays in top condition.
Honey and Avocado Mask
A combination of honey and avocado provides hydration and nourishment, maintaining the skin’s perfect balance.
Ingredients:
- 1 ripe avocado
- 1 tablespoon honey
Instructions:
- Mash the avocado until smooth.
- Mix in the honey.
- Apply the mixture to your face.
- Leave it on for 20 minutes.
- Rinse with cool water, patting dry.
Papaya and Oatmeal Mask
Papaya contains enzymes that gently exfoliate, while oatmeal soothes and hydrates.
Ingredients:
- 1/2 cup ripe papaya
- 2 tablespoons oatmeal
Instructions:
- Mash the papaya until smooth.
- Mix in the oatmeal to form a paste.
- Apply to your face evenly.
- Leave it on for 15-20 minutes.
- Rinse off with lukewarm water and gently dry your face.
Strawberry and Yogurt Mask
Strawberries contain Vitamin C and salicylic acid, which help brighten and gently exfoliate, while yogurt moisturizes.
Ingredients:
- 3-4 ripe strawberries, mashed
- 2 tablespoons yogurt
Instructions:
- Mash the strawberries until smooth.
- Mix in the yogurt.
- Apply evenly on your face.
- Leave it on for 15-20 minutes.
- Rinse off with lukewarm water.

Making the Most of Your DIY Mask Routine
To get the best results, follow these general tips when using DIY face masks:
Cleanse Your Face
Always cleanse your face before applying a mask. Removing dirt and impurities allows the mask to penetrate your skin more effectively.
Test for Allergens
Before applying any mask, conduct a patch test to check for any allergic reactions. Apply a small amount of the mixture on your forearm and wait 24 hours.
Consistency is Key
For noticeable improvements, use your DIY face mask 1-2 times a week. Overuse can irritate your skin, especially if you have sensitive skin.
Moisturize Afterwards
Always moisturize your skin after rinsing off a mask. This helps to lock in the benefits and keep your skin hydrated.
Relax and Enjoy
Take this time to relax. Apply the mask and find a comfortable spot where you can unwind and let the mask work its magic.
Conclusion
Creating DIY face masks tailored to your skin type can be a rewarding and effective way to maintain a glowing complexion. It’s all about understanding what your skin needs and selecting ingredients that cater to those requirements. With the masks listed here, you’re well on your way to better skin without the need for expensive store-bought products. Your skin will thank you for the natural pampering!
